Showing posts with label tutorials. Show all posts

Tuesday, October 12, 2010

Why I love photographing families....

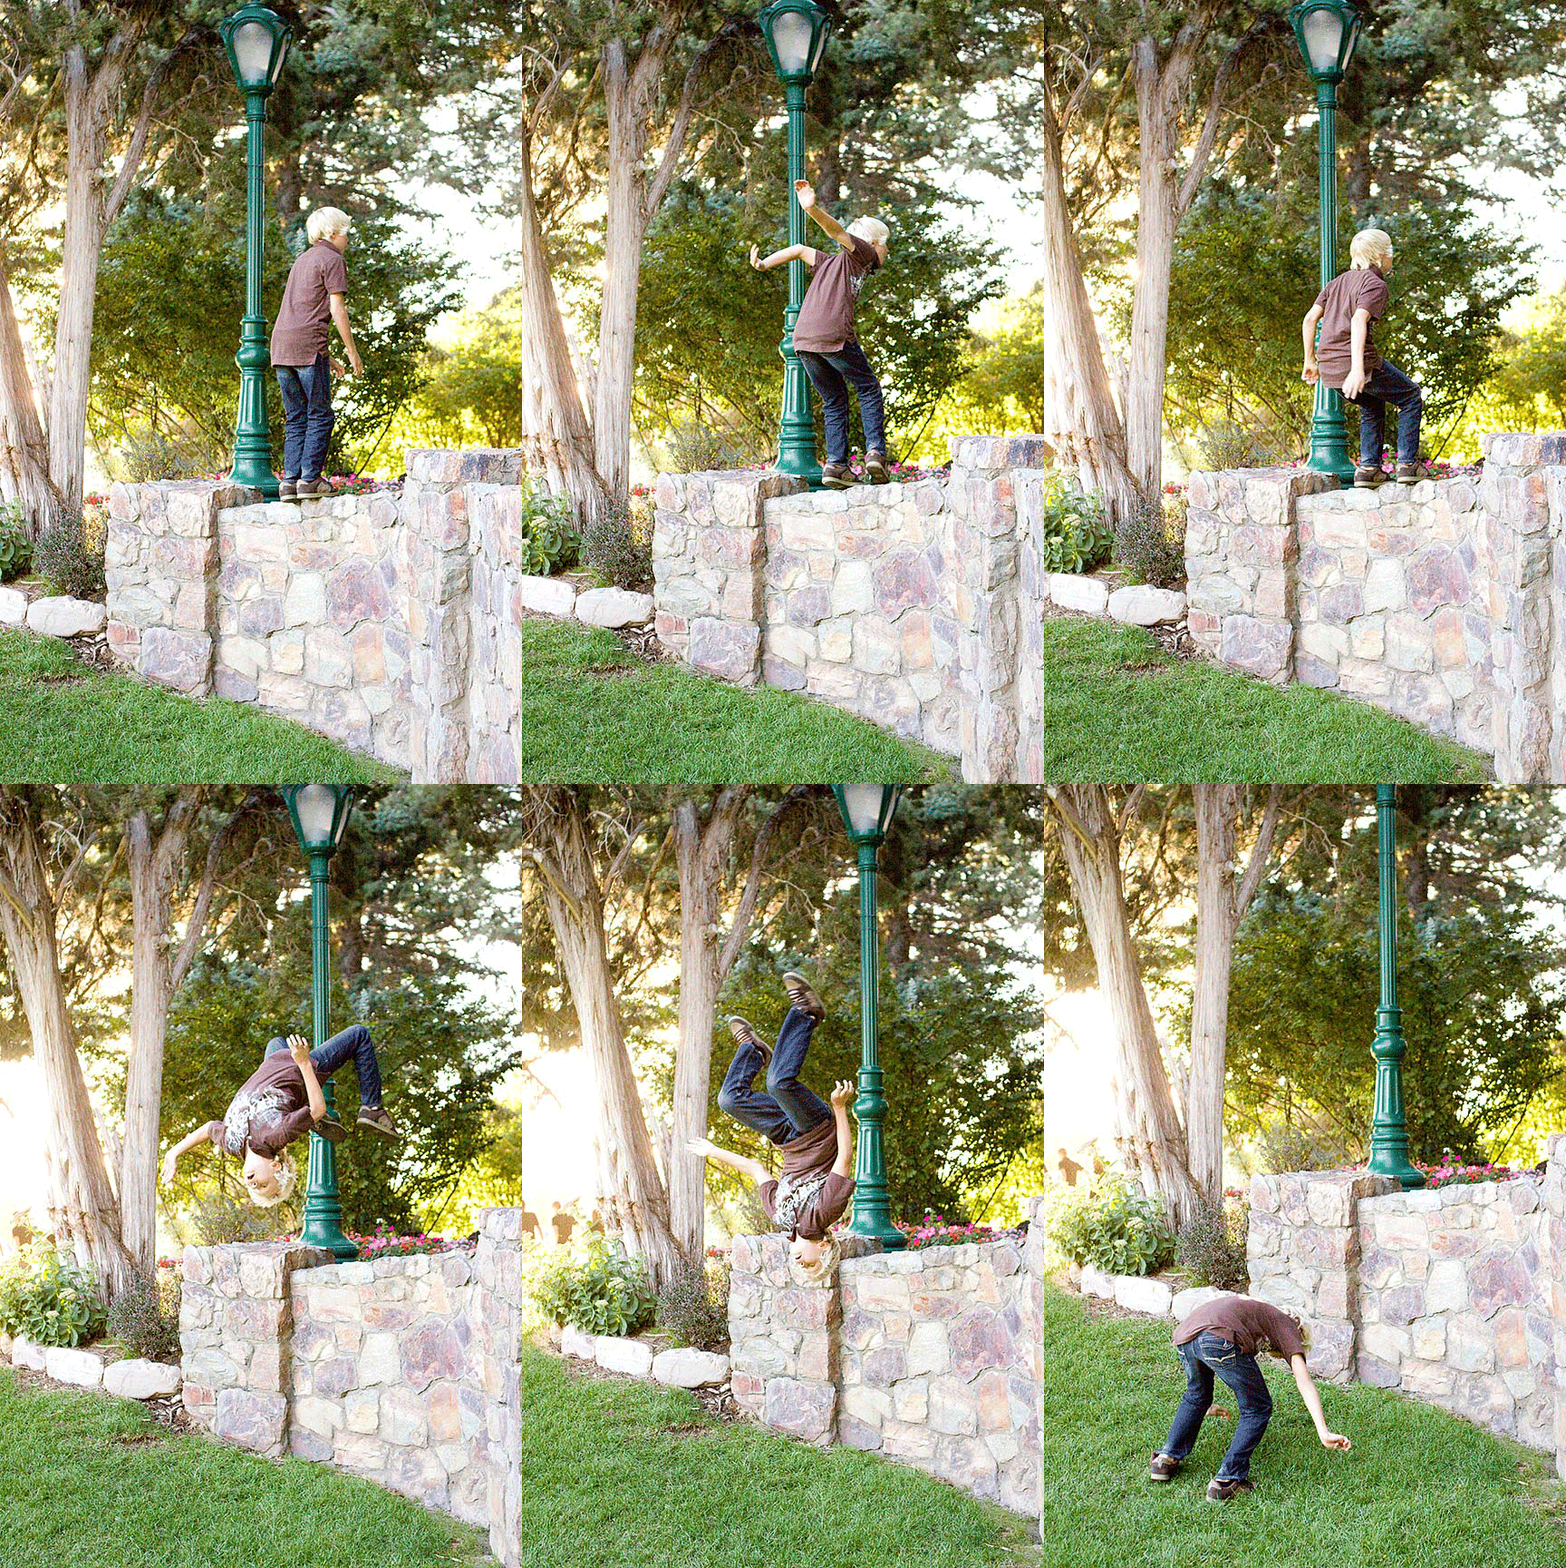
Because maybe...just maybe I will get to photograph a pretty awesome kid like this....
This family has a bunch of pretty great kids. :) Full of personality and SO fun to photograph.
He just wasn't allowed to do the back flip until the session was over! I didn't want my shoot to be interrupted for an ER visit. 

Wanna learn how to animate your own series of photos? 

is a GREAT tutorial just for you! HAVE FUN! 

Friday, October 1, 2010

Online tutorial...

I have a way cute camera strap that a friend gave to me. You can kind of see it in the picture above :) ...I am not sure where she got it, but I LOVE it. I get tons of compliments on it all the time. Way better than my plain old black strap that came with my camera. 

I know these camera straps can be a little pricey...but today I came across a tutorial for you to make your own slipcover. I have seen tutorials to make a whole new camera strap and it seemed a little time consuming and not really worth it...but this seems like a perfect alternative if you want to make your own. The nice thing about a slip cover is you could make a new one whenever you get sick of sporting the old one :) 

Check it out here...

And...check out the rest of that blog, too. Pretty great stuff. 

Monday, September 27, 2010

Silhouettes....tips and tricks:)

I did such a FUN engagement shoot yesterday...scouting areas all over Salt Lake city...trying to obey "city rules" but ending up with a small parking ticket from a very angry parking police. But so worth the ticket! So worth it.  
Such an amazingly cute couple. So in love and nothing makes my heart more happy than a young gorgeous couple in love. :) 
One thing that I LOVE is a good, fun silhouette picture. It is such a simple thing to do if you know the right settings for your camera. The trick? You gotta shoot manual, baby! 
Here is a FANTASTIC tutorial to help you get started. There is even some editing tips thrown in there. Silhouettes done right, require little, to no photo shop at all. To do this type of picture you must have a basic knowledge of how to change your settings manually. The key is metering to the sky and completely underexposing the main subject. I had a few questions about sun flare shots and I will try to get some help/tutorials on that subject as well. 
Happy shooting! This is the perfect time of year to get these fun shots. I absolutely LOVE it when little kids are silhouetted. I must find a great location for my own kids soon! 

PS...don't miss the cake winner below! Cakes by LE is filling up fast! Get your orders in, too! 

Saturday, January 16, 2010

How to make your own digital papers!


I have a list a mile long of things I SHOULD be doing...but why would I do those things? I have been wanting to share some kind of useful information for quite sometime now...so hopefully this will be something you will find very fun and useful!


Let's make our very own digital scrapbook paper...shall we?
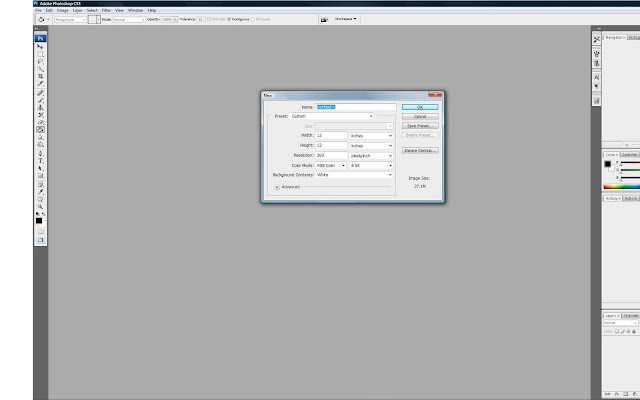

I will try to make this super simple and it should work for any kind of Photoshop...including elements! First....go HERE and download Alexis Miller's FREE, ADORABLE Valentine brush set. Thanks Alexis! Save it to your computer and Open up your version on photoshop.

Once photoshop is up and running, click on File...New (control N) and a box pops up like the one above. Since we are making a digital paper, I chose the size 12 inches by 12 inches at resolution 300 pixels/inch. Make sure your width and height are in inches. For this project, I am going to leave my paper white.
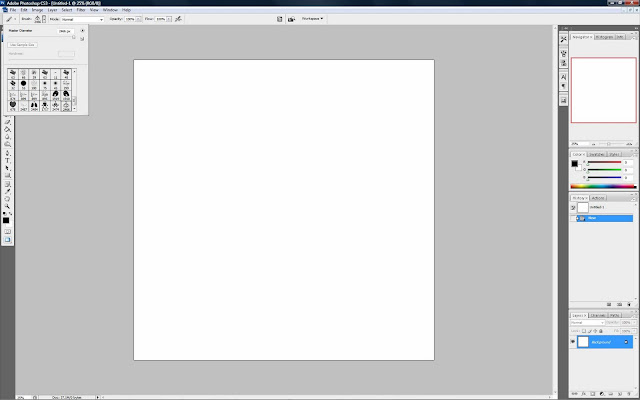
So, click on the brush tool and find the ladybug in your brush pallet. It will most likely be the last brush since it is the most recent one you have loaded. Click on the ladybug and now you are ready to stamp it on your paper.
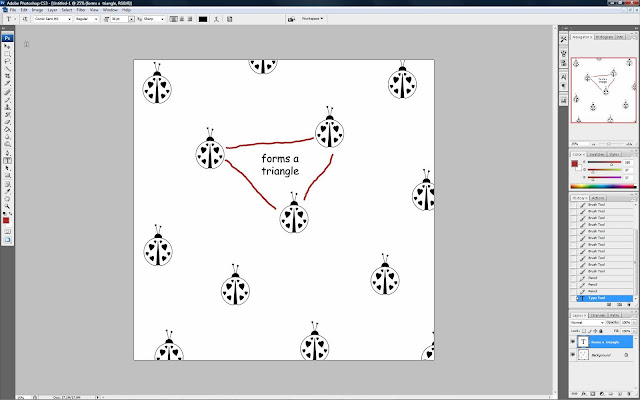
Using the [ or ] key will change the size of your ladybug. At this point, you are just going to keep stamping them all over your page using a triangle method. I am not sure what this is technically called, but a really amazing scrapbooking friend of mine (hi Blythe) taught me this trick. When you are stamping, scrapbooking, even decorating your Christmas tree, use this method of proper spacing that will make it look pleasing to the eye. See how every single ladybug can be connected to another as a triangle? Don't feel bad about cutting the ladybug off to make it look right. Hoping this makes sense?
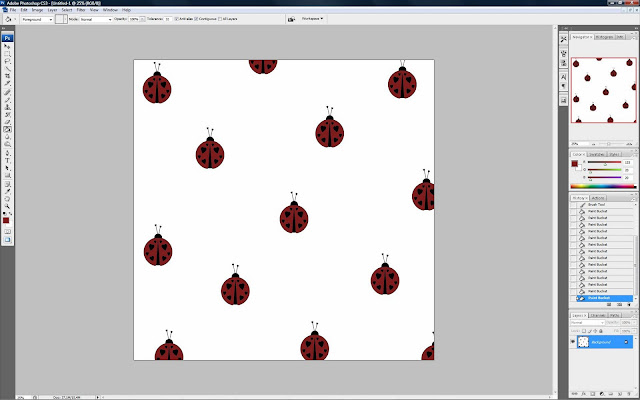

At this point...I wanted to color the body in with red. So...go over to your color pallet and choose a red that you like. Then, using the paint bucket tool, just fill in each body.
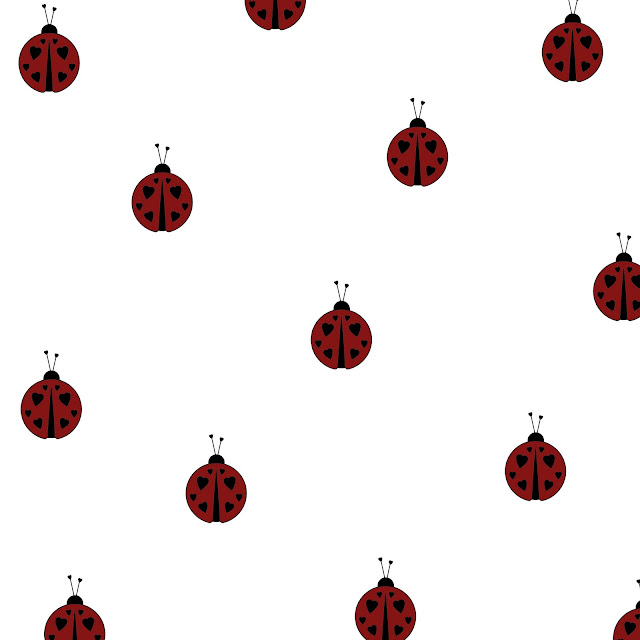


Finished product! Super, super easy and made my own FREE digital scrapbook paper in less than 5 minutes. Hopefully this tutorial is easy enough to follow...but if you have any questions, please contact me and I will help you the best I can. Just think of all the possibilities you can do! There are SO many free brushes out there! Have fun creating! If you end up making your own paper, link us to your website and show it off! Easy Peasy...Right?
Here is a quick and simple example of how I used the paper. We call our daughter "Haleigh-Bug" or sometimes just "Bug-Bug" So, ladybugs are always fitting for her :)
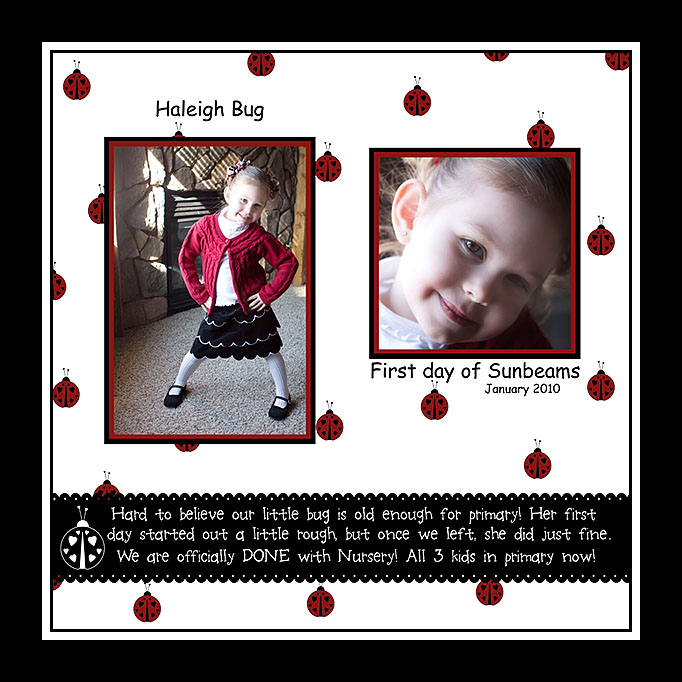
Simple, simple design and layout. Doesn't get any easier or CHEAPER than this! Total cost for this page? $0!